




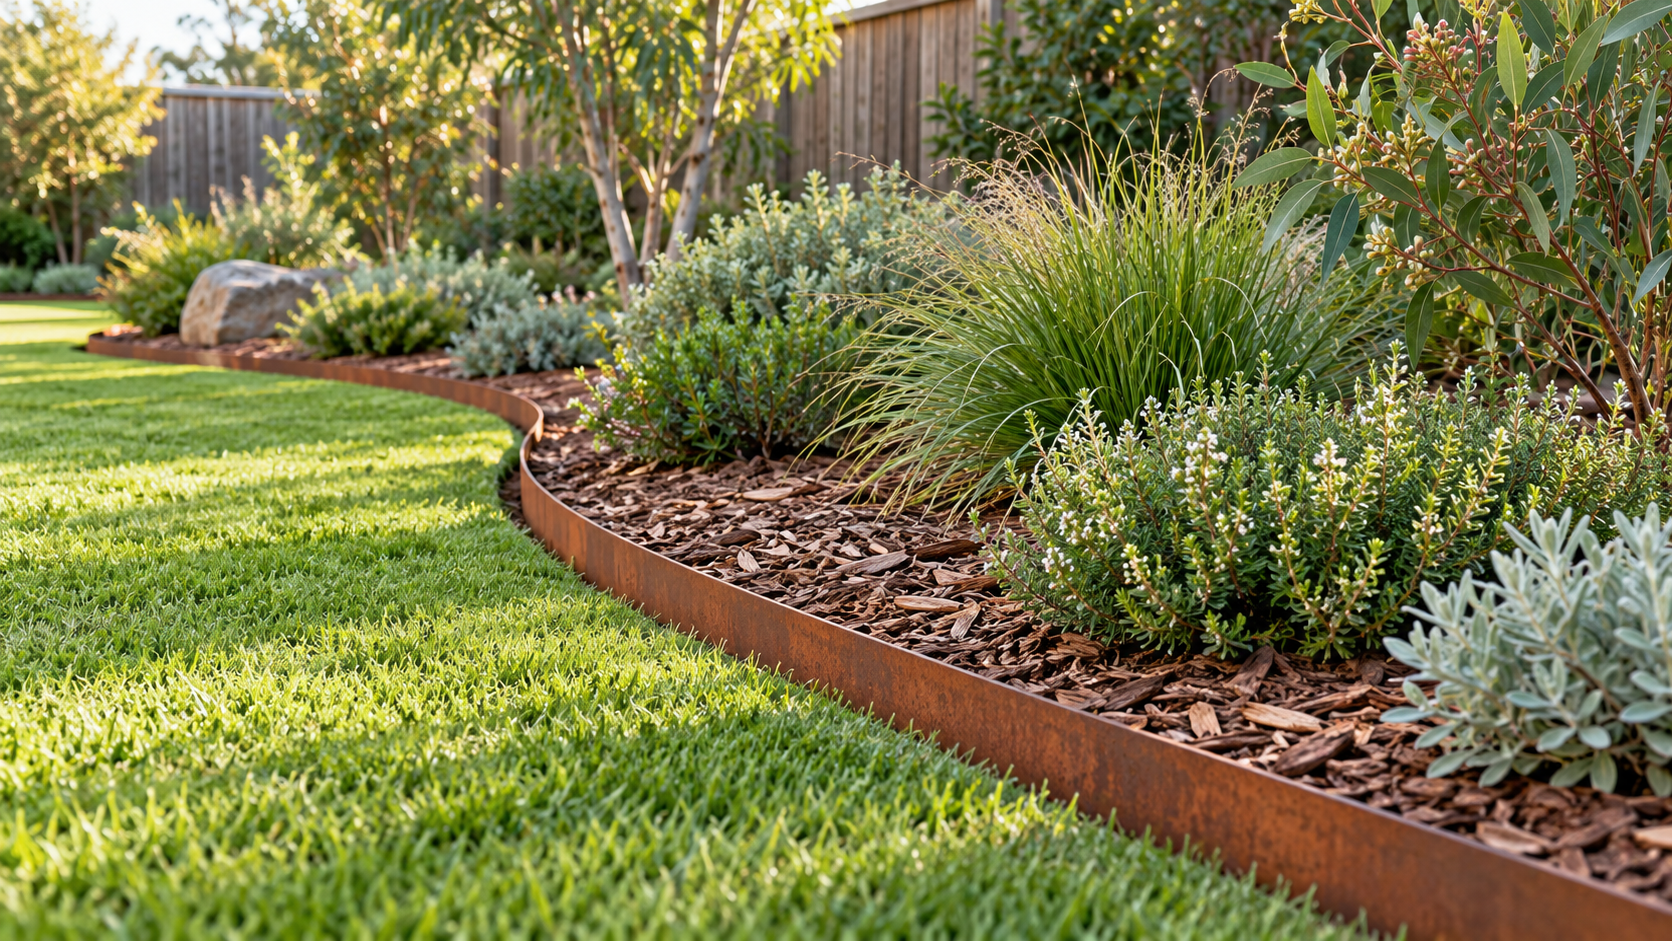
A garden bed is easier to manage when drainage, soil coverage and borders are planned before planting begins. Where excess moisture is a problem, agi pipe may form part of a drainage solution suited to the site. The first step is understanding where water collects and where it can safely go. For the surface, bush mulch offers a natural finish around shrubs and other garden plants. Leaving room for this layer during planning helps establish a sensible finished bed height. Along the perimeter, corten garden edging provides a defined border between planted areas and neighbouring lawn or paths.
Understand the site before choosing materials
The most useful preparation starts with observing the garden after rain. Water might collect in a low corner, run downhill from paving or remain across the bed long after surrounding areas have dried.
These patterns help identify the problem. A bed receiving runoff from a neighbouring surface needs a different approach from soil that stays wet because it drains slowly. Prolonged waterlogging reduces the air available to plant roots, so covering the surface alone will not resolve the underlying issue.
Sunlight and access also deserve attention. A narrow bed beside a driveway may experience reflected heat, while a sheltered area near a fence might receive limited direct sun. Plant selection should reflect these conditions rather than relying only on appearance.
Access affects the design too. Gardeners need enough space to prune, remove weeds and inspect irrigation without stepping repeatedly between plants. A bed that looks generous on a sketch can become awkward once shrubs reach their mature width.
Before ordering materials, measuring the proposed area and marking its outline with a hose or string can reveal these practical issues.
Resolve drainage before finishing the bed
Drainage work is best considered before plants, borders and surface materials make excavation more difficult. However, installing a buried drain is only useful when the collected water has somewhere suitable to discharge. The Royal Horticultural Society identifies an available outlet as a key consideration when assessing drainage options.
The layout should account for the source of the water, the ground levels and the intended discharge point. These details determine whether a subsurface drain is appropriate or whether changes to the surface layout would better address the problem.
For example, a depression beside a path may need its levels reviewed rather than a pipe installed beneath it. A persistently wet area might also suit plants adapted to those conditions, provided it does not create problems elsewhere.
Where drainage installation is appropriate, pipe selection, trench preparation and surrounding materials should follow the system supplier’s instructions. There is no single arrangement that suits every soil and garden.
Keeping water management part of the overall landscape plan is useful. Australian Government guidance explains that permeable surfaces and careful landscaping can slow stormwater movement and help manage it within a property.
Set the border around the finished levels
A border should be planned around the completed garden, including the soil and surface covering. Installing it without allowing for these layers can leave material spilling onto adjoining paths.
The chosen height should suit its purpose. A modest border may be sufficient to define a planting area, while a deeper profile may be needed where the design involves a greater difference in levels. Products intended for simple garden borders should not automatically be treated as retaining structures.
Marking the line before installation helps assess curves, corners and joins. A smooth curve can be easier to maintain than several tight bends, particularly beside a lawn that needs regular mowing.
The relationship with nearby paving matters as well. Product guidance should be checked for installation requirements and suitability beside surrounding materials. Correct stakes, connectors and fixings help achieve a consistent finish.
The aim is a border that fits the garden’s shape and supports routine maintenance, rather than becoming an obstacle around it.
Apply mulch with future maintenance in mind
Once the bed is prepared and planted, an organic surface layer can help reduce moisture loss and suppress weeds. It also breaks down over time, so its coverage needs occasional review.
Existing weeds should be removed before application. The material should then be spread evenly at a depth appropriate to its texture and the supplier’s guidance, leaving space around plant stems and trunks.
Ordering becomes easier when the bed area and intended depth are known. A bed covering 12 square metres with a 50-millimetre layer requires approximately 0.6 cubic metres before allowing for product-specific settling or delivery considerations.
After application, watering should reach the soil beneath the covering. Checking soil moisture directly is more useful than judging the bed solely by whether its surface looks dry.
Later maintenance can remain straightforward: remove emerging weeds, inspect exposed patches and check whether material has shifted onto paths after rain. Additional layers should only be added when needed rather than piled on automatically.
A well-planned garden bed brings these decisions together in a sensible order. Understanding the site, addressing water movement, setting the border and applying the surface covering gives plants a considered setting and makes ongoing care more manageable.